

ChoiceScript doesn’t have integrated version control. If I select three paragraphs of source code, cut them to move somewhere else, and then lose them out of the clipboard by cutting something else, then the only way to fix my mistake is with “undo”. And it only works if I figure it out fast enough.
If I figure out what I did two days later, when a whole room is missing from my game… well, that’s a particularly painful experience. And accidental deletions don’t feel any better in Inform 7, Twine, OpenOffice, or any other system I use.
To safeguard my progress, I use Mercurial with TortoiseHg as a version control system. This post walks through how it works.
What is Mercurial?
Mercurial is a free, full-fledged source control management system that can hold its own with the likes of GitHub and Perforce. The way I use Mercurial just scratches the surface of its potential.
For team development, I recommend GitHub instead, as it’s a more widely-adopted solution and integrates into Unity. Generally speaking, Git – which drives GitHub – is the more powerful, more complicated cousin of Mercurial. But for solo development, Mercurial is all I need.
What is TortoiseHg?
Alone, Mercurial ships with a command-line interface. I personally find this obnoxious. TortoiseHg is the Windows shell extension that makes Mercurial unobnoxious. It includes Mercurial, kdiff3 (a lifesaver!) and some other handy stuff.
TortoiseHg is available for Linux and Macintosh as well as Windows, but I’m working on Windows, so all my screenshots are Windows-based.
A quick promise:
The instructions below may appear intimidating, but in practice, I just do an “extra save” on my files any time I stop for lunch, reach the end of the day, or finish a feature. It takes about three mouse clicks plus a description of what I did in my work session.
Install TortoiseHg
On Windows, it’s pretty much like installing anything else. The official docs have some notes about how to upgrade from legacy versions.
Set up your repository.
This takes a few steps.
Right click on the folder where you want version control. (For this walkthrough, I right-clicked my Twine folder.) You’ll see something like this:
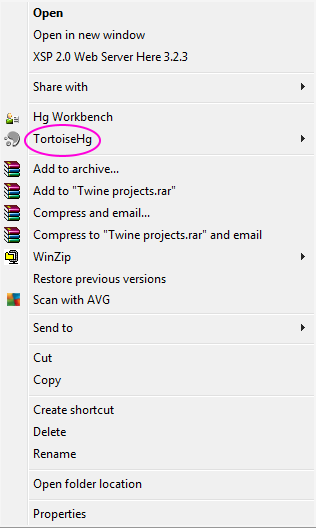
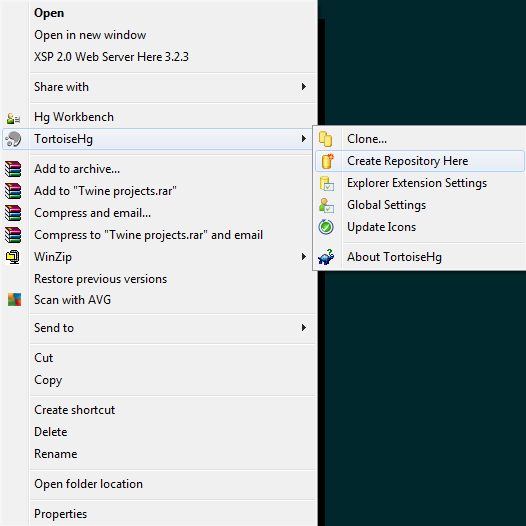
Click on Tortoise HG and then pick “create repository here”.
It will ask you to verify the destination path and HG command. They should match the folder for the directory you picked. No need to change them.
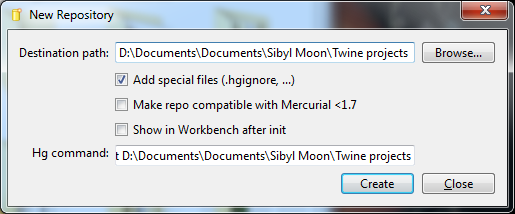
Click on Create.
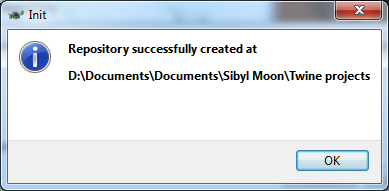
You will now see a giant green checkmark beside your folder name. This means that every file in the folder is part of the repository now.
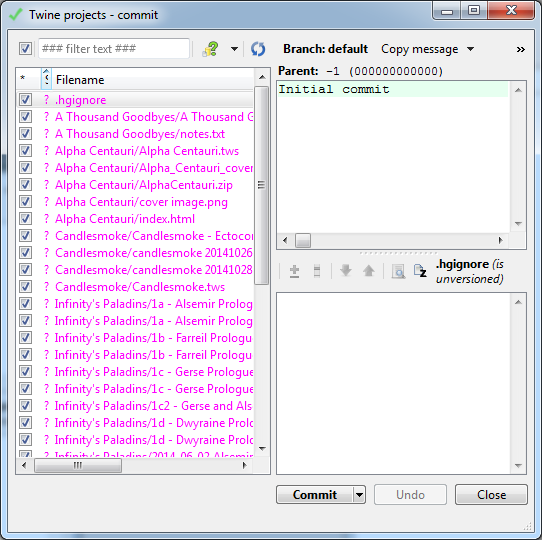
Next step: right-click again on the folder and then pick HG Commit.

What the question mark means is “Hey, this file isn’t in the repository!” Check the boxes for every file you care about. Then write something helpful in the top box. This is your commit message.
Generally speaking, a commit message should be a short (50 character) summary of the work that you’ve done between the last time you committed and this time. Try not to follow xkcd’s example.
Click Commit. It will say “Add selected untracked files?” Click Add.
TortoiseHg will flash up all the files in green text and then clear them. That’s a good thing! This means all your files are now being tracked.
How do you know? More giant green checkmarks!
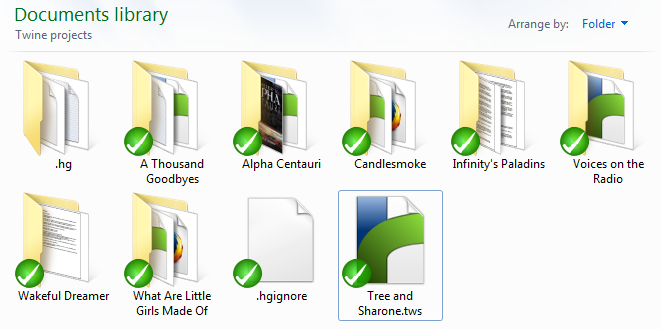
Every tracked folder and file inside your tracked folder will now have a giant green checkmark next to it.
Whenever you finish doing some work…
Right-click on the main folder again, and click HG Commit again. This is not as annoying as it sounds, because:
- it will only show you new/changed/deleted files, and
- you only have to make decisions about new files.
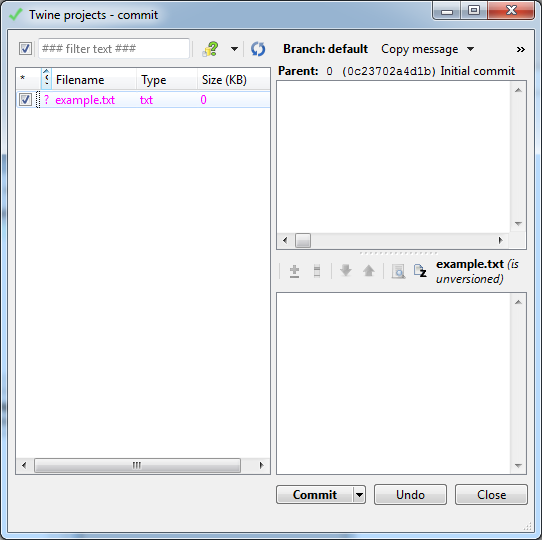
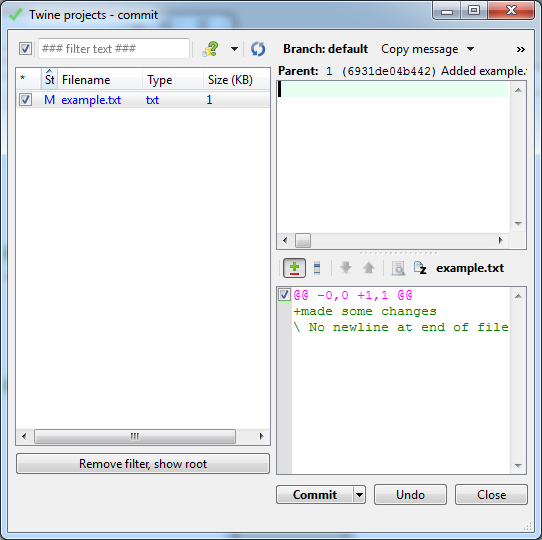
For example, you can see that I’ve added a file called example.txt. I’m checking it off to add it to the repository.
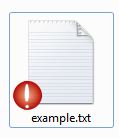
I went in and made some changes to the file. Now, instead of a green checkmark, it has a red exclamation point to warn me that I haven’t committed my changes.
That red exclamation point will show up on the main folder, too. But when I go to commit my project, the box is already checked for me, and all I have to do is add my message and hit Commit.
The main folder’s exclamation point may linger for a moment – you can refresh the window to make it go away. If it doesn’t go away, check again to make sure you checked in all the altered files.
What’s this hgignore thing?
Every time you commit, TortoiseHg will offer you the chance to add uncommitted files into your repository.
But what if you don’t want to add all those files? For example, I don’t need to track changes on the ChoiceScript examples in the screenshot below.

Right-click on the file name and choose Ignore. This will open up a menu where you can add files to the Ignore filter.
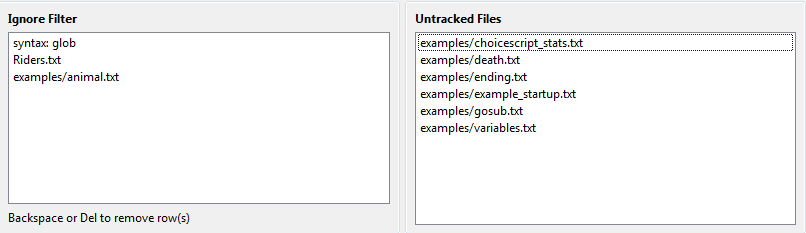
If you add a file to the Ignore filter, then TortoiseHg will stop asking if the file should be in the repository.
How to recover a specific version of a specific file
Right click on the specific file and choose Revision History. This will show you all the times that you changed this file and committed the changes.
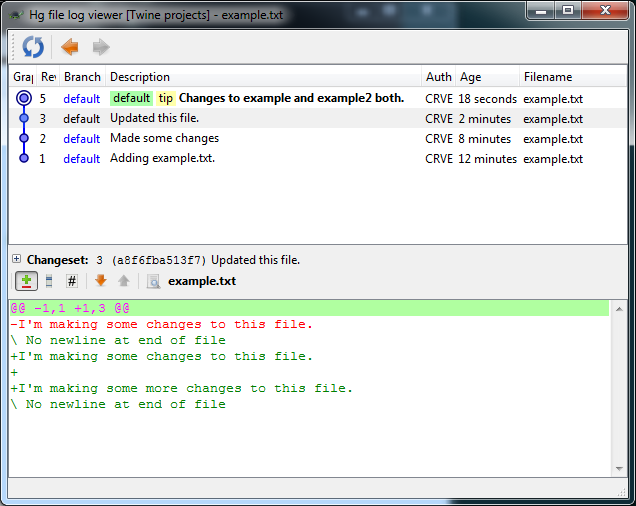
Choose Revert to Revision on the revision you want.
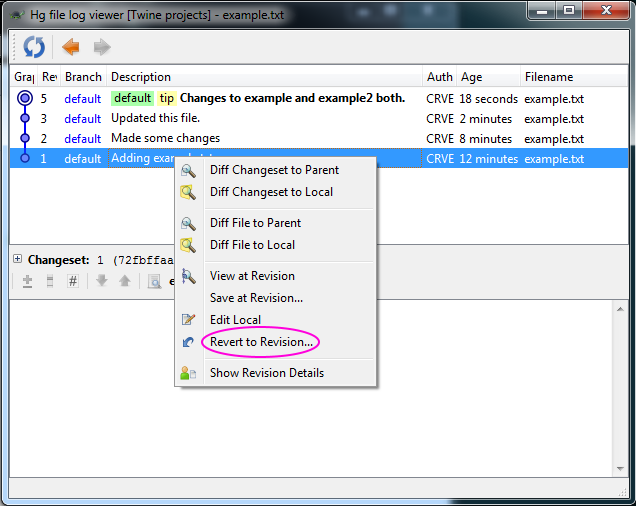
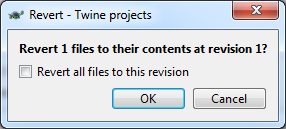
You’ll get a popup with bad grammar that asks if you want to revert all the files, or just 1 file. Hit OK to revert only 1 file.
How to recover the last committed version of your entire folder
I use this system for spot recovery in the face of disaster – it’s good for “go back to where I was at the top of the day” or “go back to where I was at lunch.”
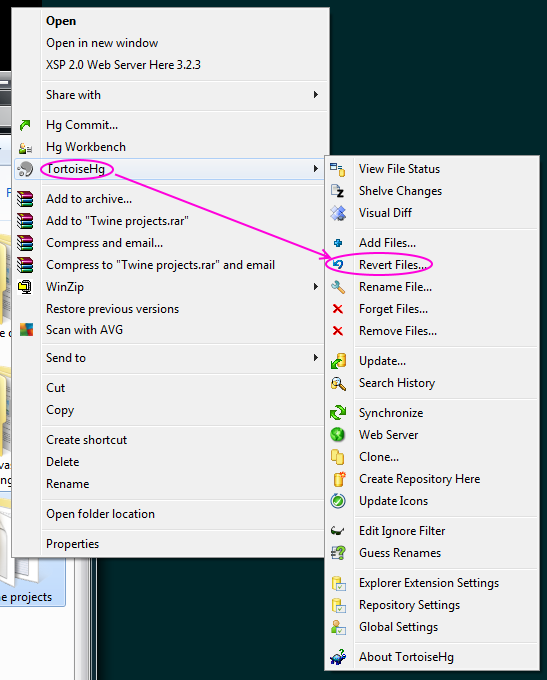
To cancel all the changes that you’ve made since your last commit: right-click on the folder, pick Tortoise HG, and then pick Revert Files. This will undo all your changes in the folder, not just one specific file.
I started using TortoiseHg and now I want to stop. How?
Do not “remove files”. This will delete everything and you will be sad.
All the information about your repository is stored in the .hg folder inside the tracked directory.
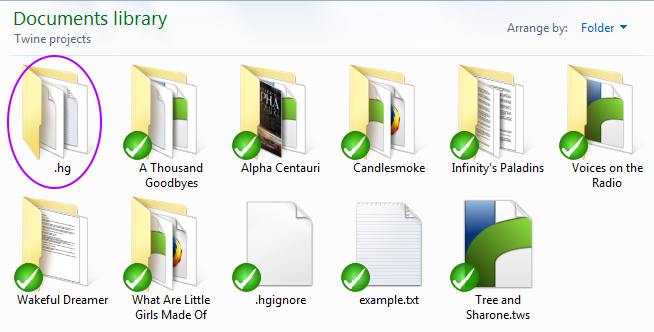
If you delete the .hg folder, then all the files will be untracked again, and all the checkmarks and exclamation points will disappear. (You may need to refresh the window to see this happen.)
Changing computers in a hurry, TortoiseHg style
If you need to change computers in a hurry, copy the .hg folder onto a flash drive, and then copy the .hg folder into a new folder on the second computer. If you then right-click, choose Revert, and select all the files, then all your tracked files will appear on the second computer, along with the history of all your changes.
(Note that this will only work if you have TortoiseHg installed on the second computer. Without that, the .hg folder is useless.)
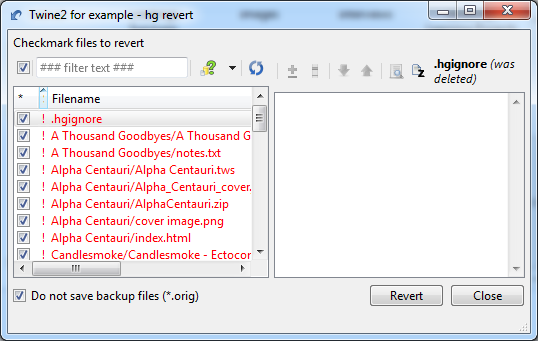
The files are red here because TortoiseHG thinks I have deleted them from the place where they always were. It’s wrong, but there’s no need to tell it that.
More about TortoiseHg
If anything here is confusing, please complain at me in the comments! However, your best bet is to check the official TortoiseHg documentation, which is clear, helpful, and provides far more detail than this post does.
Happy game-deving!
Thanks for the informative tutorial! I think game devs have been waiting for the Slack of version control, i.e., something that is simple at what is important, extensible if it NEEDS to be, and just works.